Finishing a few more doll before Ramadan

Ramadan is coming and I plan to put away my crochet hooks for the month. That being said, I needed to finish a few more orders before Ramadan started. Here are what I have done:

This doll is for my daughter’s best friend, who has beautiful curly, blond hair.

IMG_20160517_162030(1)


The next two dolls are a set, made to match a 3-year old’s parents:


IMG-20160529-WA0002


The niqab on the girl doll is attached to the hijab, which is attached to the head. It isn’t removable but it can be flipped over to show the face.


Here is the back

IMG_٢٠١٦٠٥٢٩_١٦٤٢٥٨


As for the man doll, he is wearing a white thobe. He’s a white American Muslim:

IMG_20160525_163334(1)

I’m done for a month now alhamduAllah. I can’t wait for Ramadhan to start now.

More Orders !

I haven’t updated my blog in awhile, so I will just post the pictures of the dolls I have made since my last post.


IMG_20160424_151814(1)

IMG_20160402_150919(1)

IMG_20160330_202150

IMG_20160414_112605(1)


Crochet doll in Tulle dress

I have been working on a 3 doll order for a customer. The first doll I have completed is this beautiful crochet doll in a maroon dress with a mix of purple and pink tulle for the bottom of the dress.


Attaching tulle to a crochet item is pretty simple. As I made the body of the doll, I crochet the back loops only for the row I wanted to add the tulle. Once the doll’s body was done, I went back and attached another yarn on the row that had the back loops crocheted. I chained one, and then single crochet in each of the front loops. After the row of single crochet was completed, I then slip stitched into the first single crochet and fastened off.

I used 6″ roll of tulle. You will have to fold the tulle and pull it though each single crochet. Use a small crochet hook to help out. I followed the method shown in this video: https://www.youtube.com/watch?v=1NNbi0mTtqk. I put pink tulle in one single crochet, then purple tulle in the next, and kept going this way.

The top of the dress was a little tricky. The purple flower has a button whole in the back so I used a very think crochet hook to pull two pieces of pink tulle in. I took thread to sew it in place at the center  of the chest. You can also use fabric glue to fasten it in place. I used a purple ribbon and some fabric glue to secure the pieces in the back, and used fabric glue to glue the part with the ribbon to the back.

IMG_1630-1


I then made a bow with the pink tulle and attached it to the purple ribbon to make a headband. I loved how it came out in the end.


Hijabi Doll

For some time, I have wanted to make a hijab doll but was having difficulty in getting the hijab to be right. I stumbled upon a picture of a crochet doll wearing hijab from a Malaysian woman, and thought I would try to recreate it. The hijab is non-removable, so there is no hair underneath. The problem with making a crochet hijab over hair is that it becomes to puffy. The weight on the dolls head is a lot too. Of course, you could use a light fabric like cotton and make a hijab out of that. I have used my wrap under pieces and also a wrap headband and they have worked. I do not sew so I do not make those hijabs for my dolls. This is why I have decided to either make my dolls with hair  or a hijab.

Here is my doll. It is for sale on etsy: https://www.etsy.com/listing/270750541/faceless-muslim-hijab-doll?ref=shop_home_active_1

IMG_20160302_155729


I designed the abaya to replicate the abaya on the right of this picture I found online: ♥ Muslimah fashion & hijab style:

As for the hijab, it consists of 2 pieces that are then attached together. The first piece

Jpeg

Jpeg

is the top, which is place on top of the head. The second piece is the bottom, which is placed around the neck and falls to the shoulder.

Jpeg

Jpeg

The rest is just taking yarn and a yarn needle to attach them together. I still want to tweak the hijab a little but I liked the overall look.

Check out my other dolls on my Facebook Group: https://www.facebook.com/facelessdolls/

Giveaway!

Assalamu Aleikum,

I wanted to share my Facebook Faceless Dolls Giveaway with you. I have made a doll specific for this giveaway. The pictures are below.

IMG_20160212_134138(1)

Isn’t she cute? I actually spent a lot of time in the details of this doll. I added a necklace, earrings, a belt, and even button on the shirt. I made highlights affect for the hair by using dark and light brown yarn. I love how it all came out in the end.

To enter the giveaway, you have to:

  1. Like my Facebook page: https://www.facebook.com/facelessdolls
  2. Share my page or the post on the giveaway.
  3. Comment on the post

That’s it! The deadline is Feb 28, 2016. InshaAllah I will announce the winner by March. This is for US residents only, but if you live outside the US and want to enter, you can but you would have to cover the shipping cost.


New & Improved Girl Doll

Assalamu Aleikum,

I am excited to show you my new doll design. I have decided to make the doll bigger. It is now around 12-13 inches tall. I also increased the width. I now crochet the arms together with the whole body. Only the head is attached separately now. I really like how this doll came out and it seems like I am going to stick to this design. I hope you all like it.IMG_20160202_155426 IMG_20160202_155519cropped-img_20160202_155447.jpg

Testing Out a Free Pattern

I found this free pattern as I was going through Pinterest. The size on the doll was smaller than what I like my dolls to be, but there is always something new to learn from each pattern. You can access the pattern for free here: http://www.ravelry.com/patterns/library/yun-shu

The one thing that I really liked about this doll was that the hands were crochet together with the body, instead of attached afterward. This makes the connection smoother and stronger. I will definitely try this out with my doll pattern. Here is how it came out:

IMG_20160123_190551

More Animal Amigurumi

Here are some animals I have made. These patterns were available online.

This was a Spring Bunny pattern. I made two. One as the pattern, and the other with a dress and hat and the legs standing. Bunny pattern here: http://amigurumilacion.blogspot.com/2015/10/leon-amigurumi-patron-libre.html

IMG_20160102_142036

Jpeg

Jpeg

This cat body pattern is available for purchase on etsy. I choose the colors here.

This lion pattern is available free in Spanish but the author explains each shortcut in English and has a video on her making it so it is easy to follow even if you do not speak Spanish. Pattern here: http://amigurumilacion.blogspot.com/2015/10/leon-amigurumi-patron-libre.html

More Recent Girl Doll Projects

Assalamu Aleikum,

I searched a long time for a doll pattern that I felt was worth making my own. I paid for a few projects but I was not completely happy. Eventually, I came across this blog: http://byhookbyhand.blogspot.com/. Her pattern was different in that the legs are actually crocheted with the torso in a way that allows the doll to sit. There are many other patterns out there where the limbs are made separately and then sewn together with a crochet needle and the remaining yarn. The problem with that is that usually you can see the yarn that was used to attach the limb. Her patterns do not have that problem for the legs at least, which is one of the hardest limb to sew in.

I used her Simply Amis doll pattern available free on her site but I made a few changes. First, the doll pattern is about 8.5 inches tall. I personally wanted a taller doll, so I added a few rows on single crochet stitches on the legs and torso to make it around 11 inches tall. Since I made the body taller, I had to make the head bigger too. I have used a few different patterns for the head and I am still trying to find the perfect head shape.

Second, the clothes in her pattern are crochet separately from the body. I find this method to be much more tedious and gave my doll a more rough look. Below is an example of her doll with a separate crochet abaya put on her afterward.


Jpeg

Jpeg- Simply Amis

As you can see, the crochet abaya made the doll look to thick. What I do now, as many amigurumi doll makers out there do, is crochet the clothes right onto the doll’s main body. For example, if I wanted to the doll to be wearing a black dress, I would switch the yarn I was using for the legs and torso on the doll’s body to black yarn around the midsection of the torso. When I make the change in color, I will only crochet in the back loop only in that first row. This way I can go back afterward and add another row of single crochet so the yarn gives the illusion that the clothes are not connected. If you do not crochet, I understand that explanation may not make sense. I will try to give a more detailed explanation in the future inshaAllah. Here is an example of my second Simply Amis Doll:
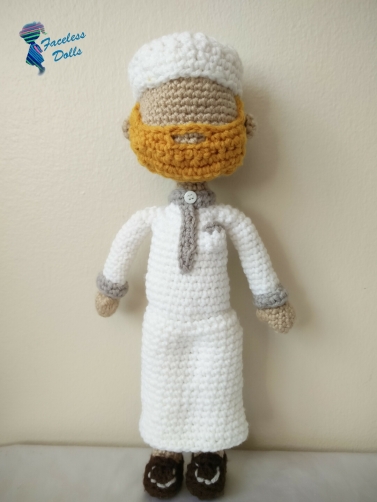
Jpeg

Jpeg- Simply Amis

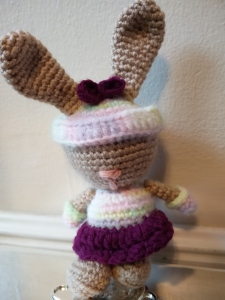
I am still editing her pattern with every new doll I make to make it better. My next project will try to get the arms to be crochet directly in with the torso as the legs are. Below are some of the dolls I have made more recently.


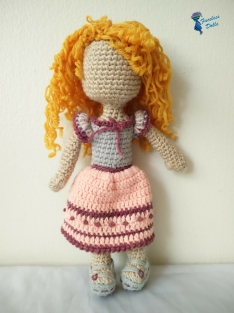
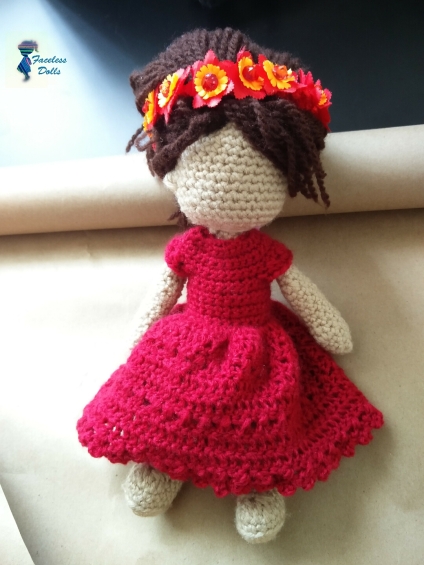
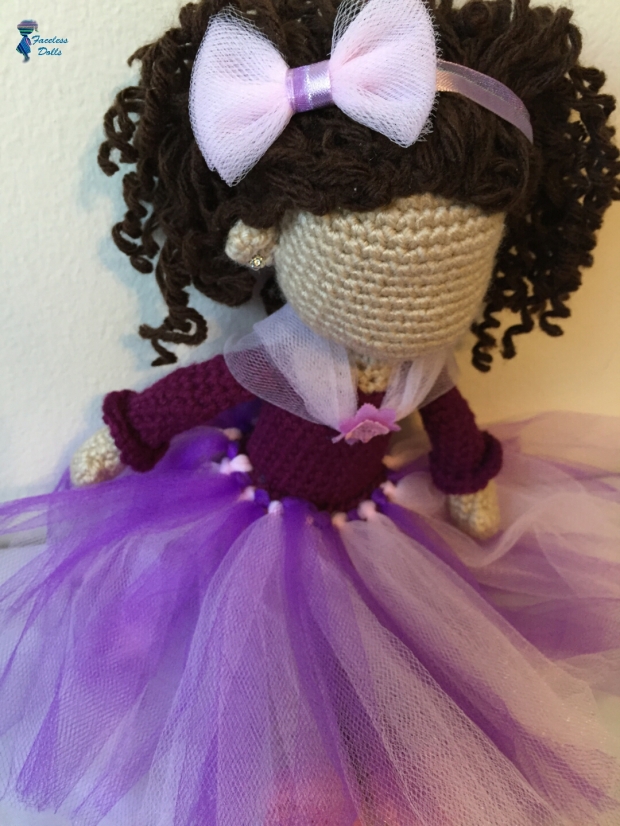
Doll in a beautiful pink dress:


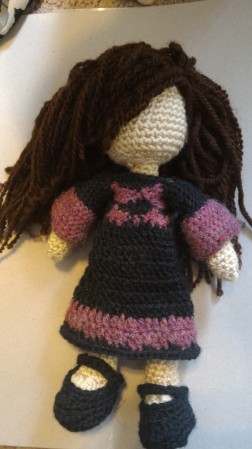
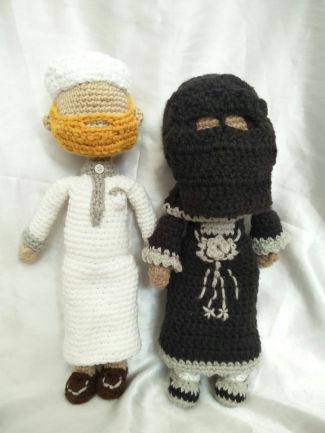
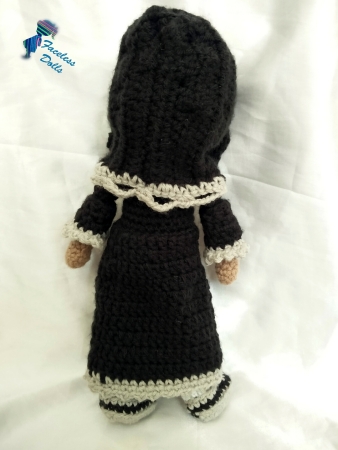
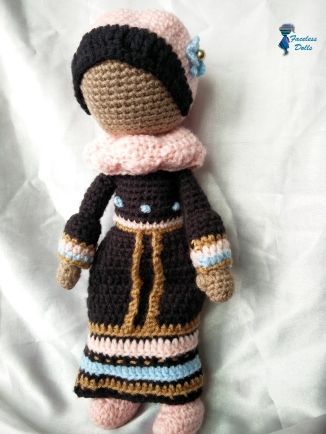
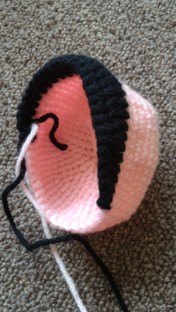
Doll in a white and black abaya:


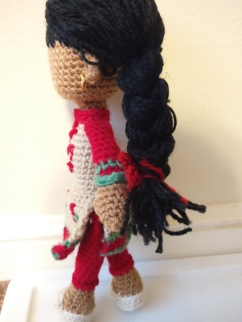
Doll in a Shalwar Kameez:

IMG_20151230_161208


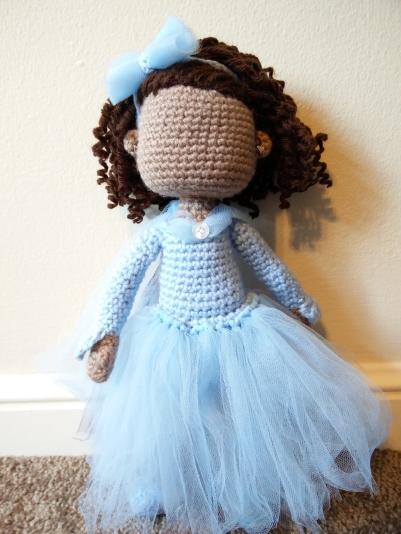
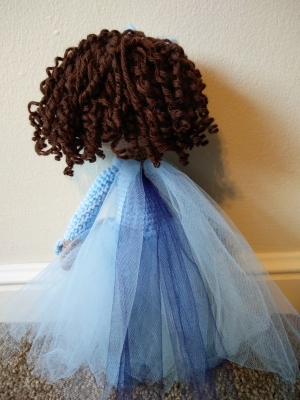
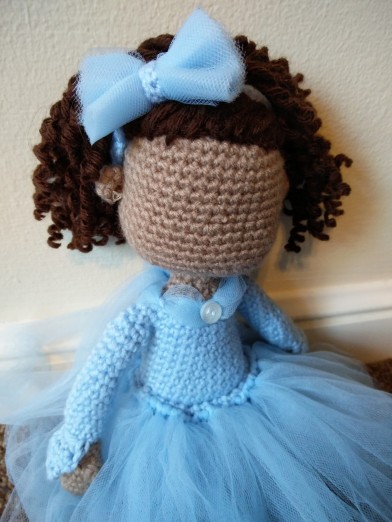
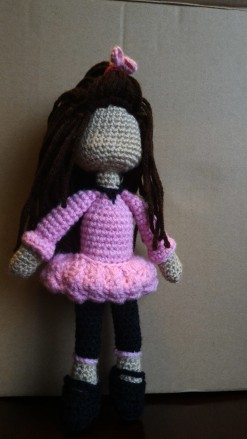
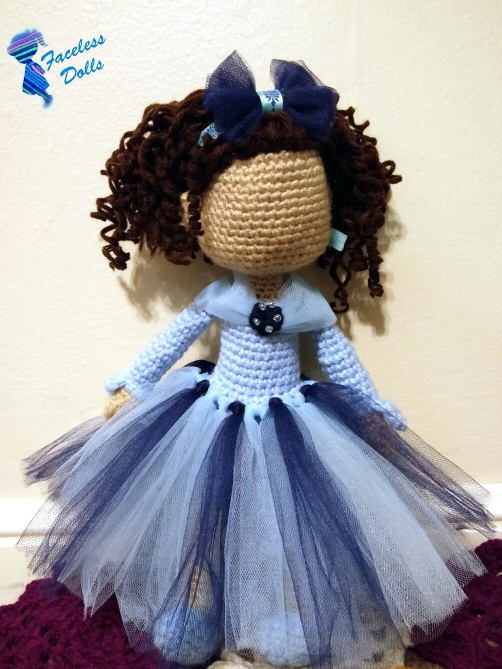
Doll with a tulle bottom dress:


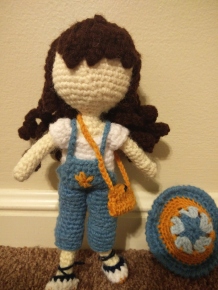
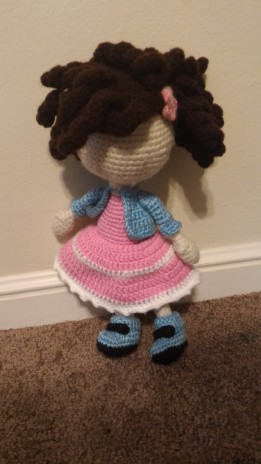
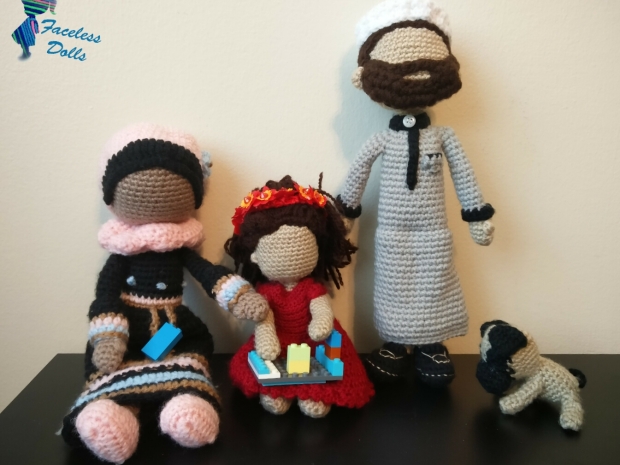
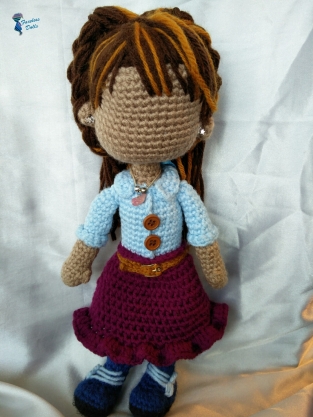
Custom doll for my cousin:


InshaAllah, there will be more to come. I hope you enjoyed looking at my projects.


Beginning Projects

Assalamu Aleikum,

With every amigurumi I make, I learn something new and I slowly improve my techniques and design. Here I post some of my earlier projects. They are not perfect, but I learned a lot in  making them.

Crochet Duck:


20151104_112243_1

Crochet Teddy Bear:

Jpeg

Jpeg

Crochet Sheep:

IMG_20151215_170306

My first crochet girl doll:

Jpeg

Jpeg


Crochet Muslim bearded man in a thobe:

Crochet Cat: